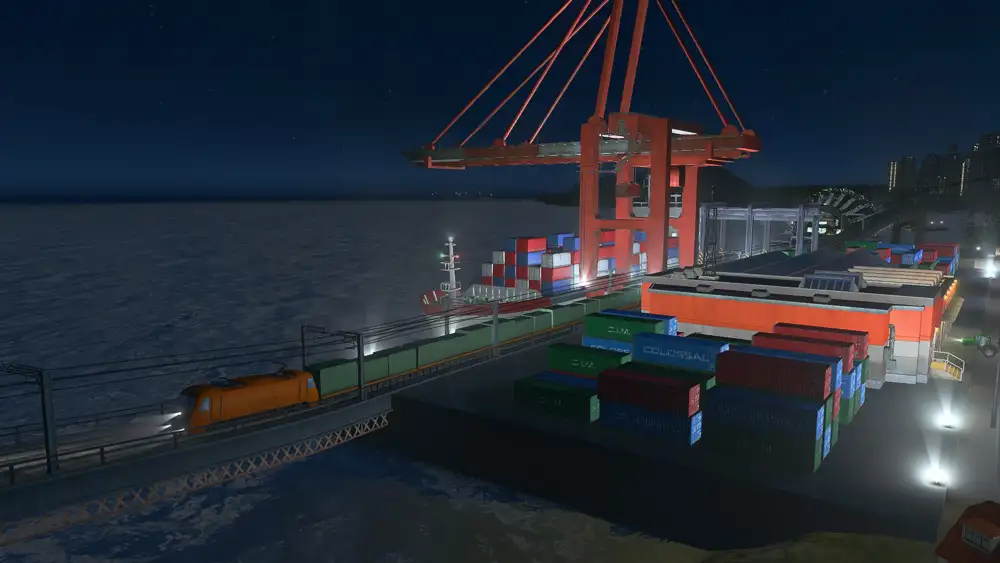
Getting your cargo on rails is one of the best ways of fixing your traffic problems. Combine a good rail cargo system with an efficient public transport network and your roads will flow smoothly and serenely.
Rail freight works pretty similarly to passenger transport. If it shortens the journey, cargo will (like a person) find its way to a station, loads itself up, unload at the closest station to its destination, then drive the rest of the way.
By putting stations, harbours and hubs near where cargo is coming from and near where it’s going, whole sections of the journey won’t need to be made on the road. I’ve got an article about other ways of reducing traffic.
Compatibility: Here I’m writing about the vanilla unmodded game so it applies across the PC, Mac, Linux, Xbox, PS4 and Switch versions. I’ve got all the expansions installed but only After Dark’s Cargo Hub isn’t in the base game.
What goes where
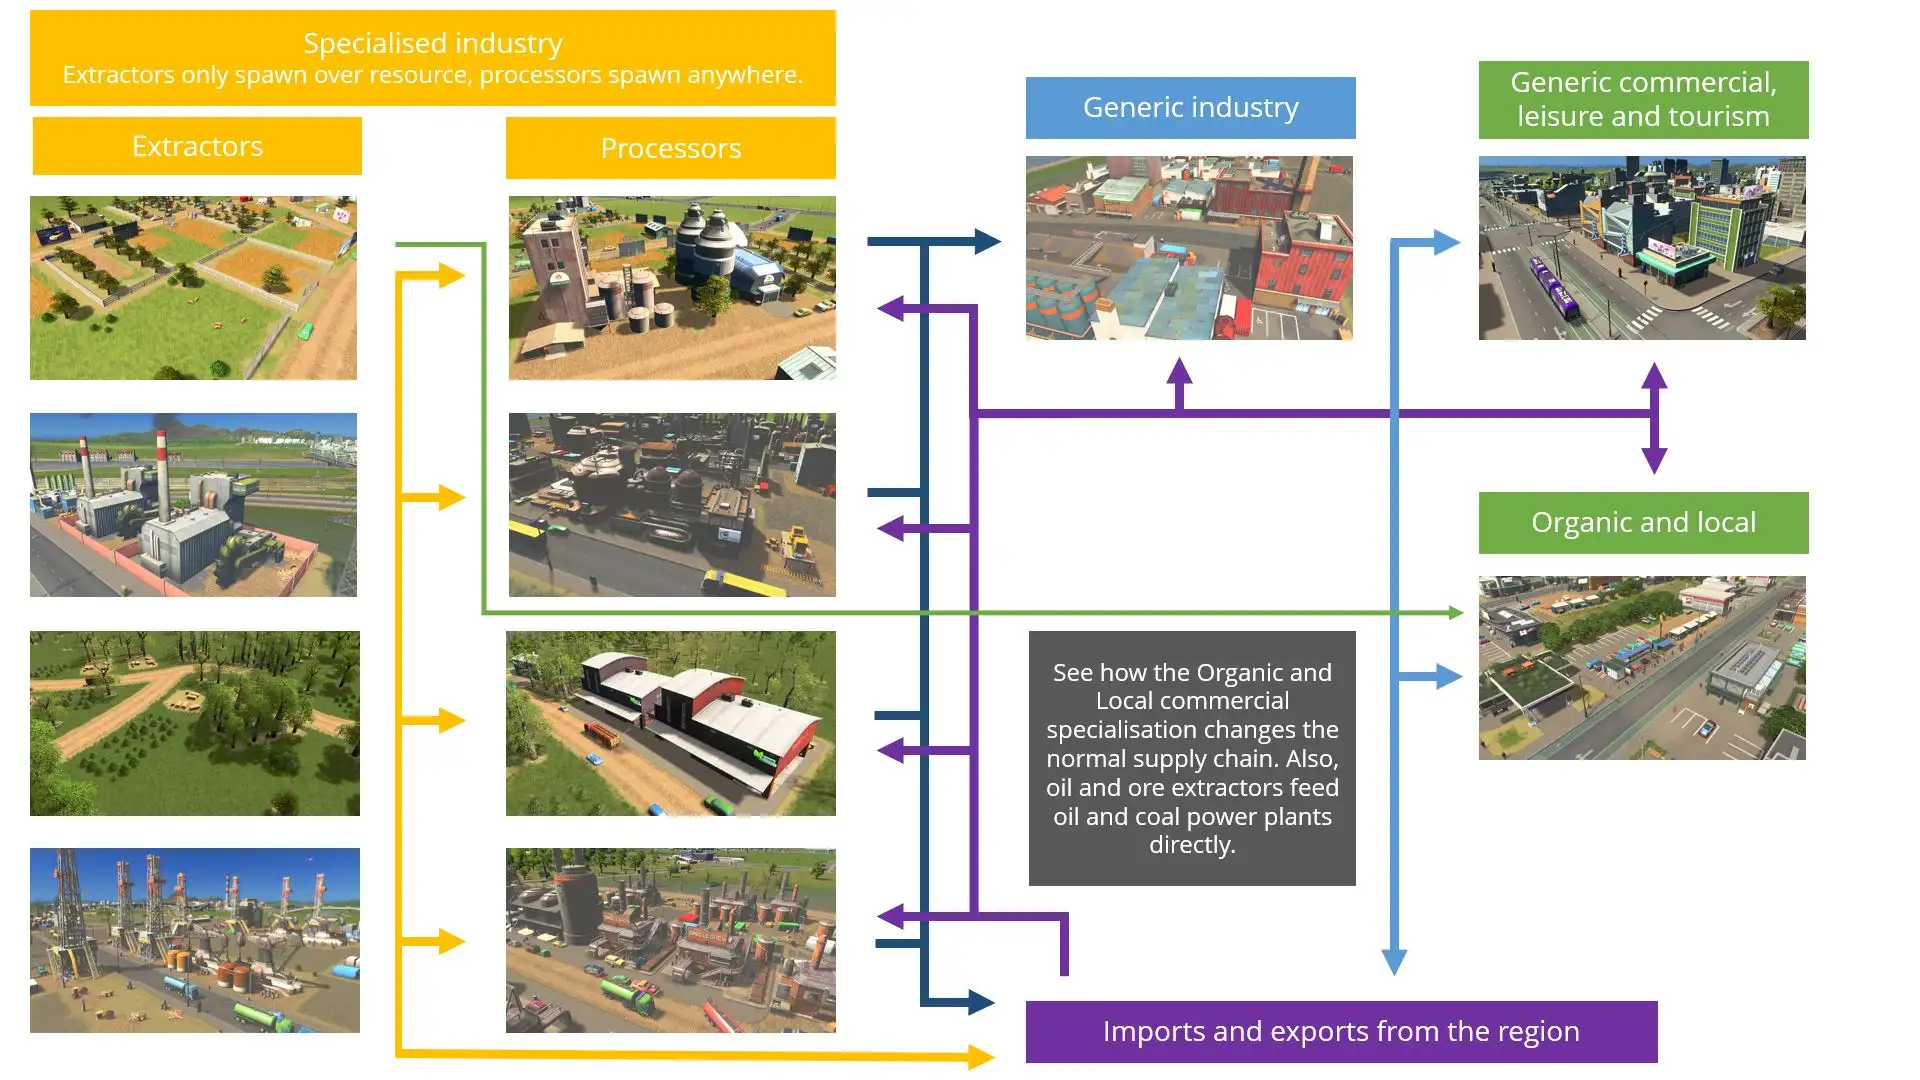
This graphic is from the Supply chain article but works here too.
Cargo can travel on rails for any part of its journey. If it’s the fastest option, trucks will go the nearest cargo station and unload at the station nearest to the destination.
To see more about who needs what and when this supply chain article might be useful. But in essence (hopefully the graphic above makes sense) it works like this:
- Specialised industry spawns two types of building. The raw material producers only export products (whether internally or externally), the secondary processors import and export. The generic industry buildings do the same, while commercial zones only import.
By pulling up the Outside Connections tab in the UI you can see, in real time, what buildings are importing and exporting what. If you see a shop that is grey in this overlay, that means it is getting its products from with the city.
With this information about the city’s supply chain, you’ll have a handle on what products are going where and be able to plan accordingly for major flows of traffic.
Available tools
Cargo train terminal
The cargo train terminal works exactly like a passenger station except it can only accept cargo, obviously.
Put one station that’s convenient for goods - close to your industrial areas for example, and another near where those products are going. That could be an industrial later in the supply chain, your main commercial area, or next to your harbour if your city exports a lot.
As with passenger lines, place as many stations as you think are useful - and ideally leave room for adding more later.
Although they’re expensive, adding more means evening out the pressure on roads around the stations rater than overloading one or two.
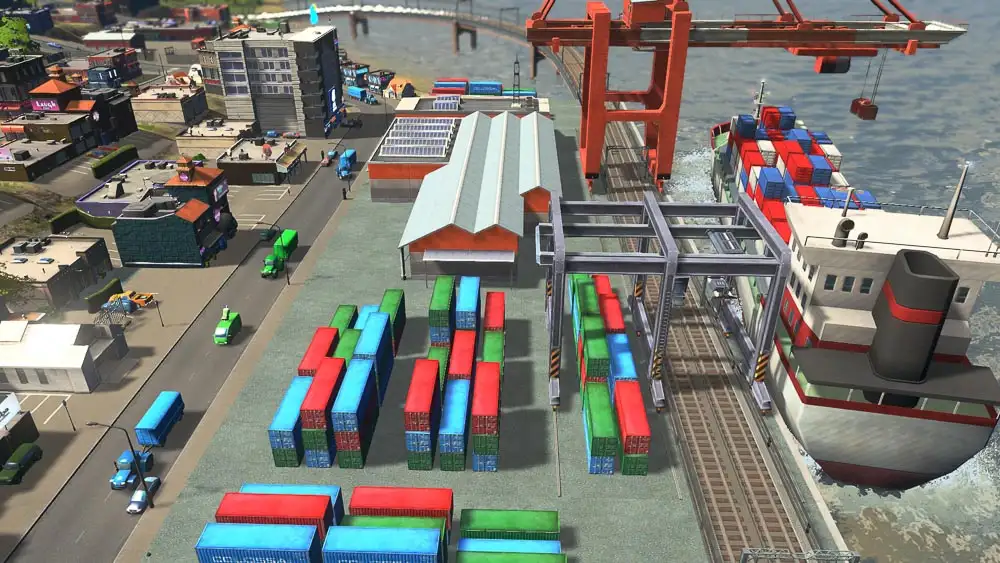
Cargo harbour
The cargo harbour needs an external water connection and from then on will bring cargo ships to the city. If your city has a mix of imports and exports it’s unlikely all that traffic will be heading to the same place, which makes choosing optimal placement important.
In other words, by putting the harbour nice and close to a big commercial area, you might also generate a load of unwanted traffic heading to and from your industrial areas. That’s why it’s a good idea to link your harbours to nearby train terminals, or just replace them with Cargo hubs.
Of course, you can have as many as you like. Ships will use the closest one to where the cargo is going, so you have specific harbours for shops and industry.
Cargo hub
The After Dark DLC added the excellent Cargo hub. It’s a cargo train terminal and cargo harbour combined. At 90k/2.4k it’s expensive but cheaper in both upfront cost and upkeep than building one of each.
Besides cost, its main benefit is the ability to transfer cargo from rail to water without an endless stream of trucks travelling back and forth between the two buildings. That saves time but also means you aren’t holding up trucks who are legitimately travelling from and to the hub - rather than just doing the interchange.
As with the harbour, multiple hubs can be effective when they are dealing with distinct parts of the city.
Tips on effective layout
If it makes sense, a good idea is to create a one way loop around the entrances of your cargo buildings. By having one way in and one way out, you can avoid vehicles crossing in front of each other, and speed things up.
To increase efficiency, try to run loops to your stations so that both platforms get used at once, doubling capacity. Perhaps use one direction to leave the city and the other to head into it to encourage use from both directions.
Double check there aren’t any unintended connections in the network, and check back from time to time. What you don’t want is cargo trains going on the scenic tour of the entire city to reach a station you never intended them to reach because they’ve found a connection.
Add passing loops
It’s especially important for tracks on cargo lines to have passing loops around stations. Basically a simple parallel track alongside the station, it lets trains that aren’t stopping avoid queueing.
The ideal passing loop is just long enough one (actually, any number you like) train can queue each side of the station, without blocking access to the junction for trains passing by.
Try to keep lines separate
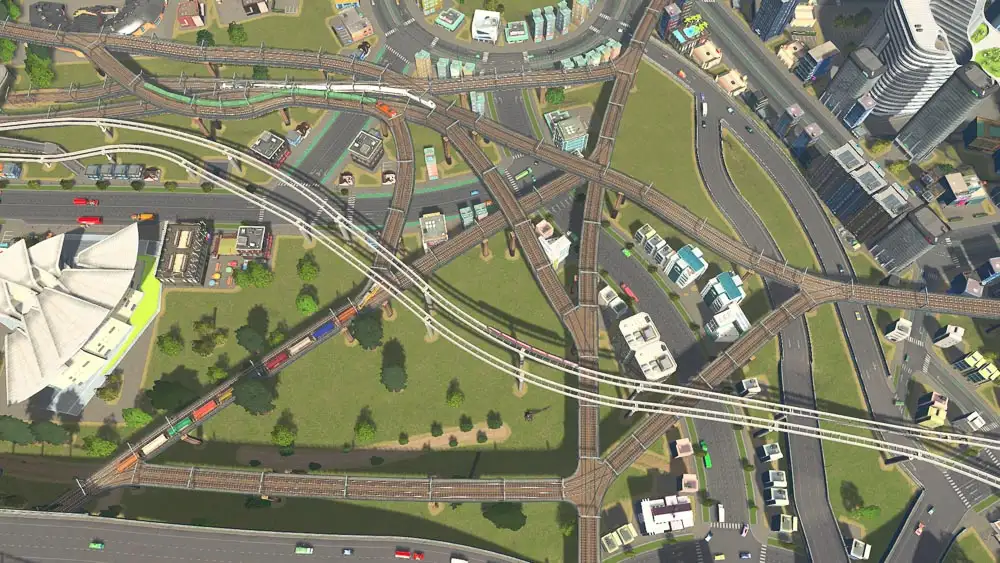
This is a complete mess. This is one of those times I just kept adding bits to the network in a blind attempt to solve train traffic jams. I’d have been better off starting from scratch!
Trains can drastically increase the efficiency of your network, but it’s also easy to create a massive mess if too many trains share the lines.
It’s best to keep passenger lines totally separate (and split those into tourist and internal routes, too). Since train track is expensive to maintain it’s not always the best idea to lay it all at once, but be sure to leave space for later.
The problem with outside trains - both passenger and freight - is that they often arrive in the city with very small loads and sometimes make an unusual series of stops, before sometimes heading back out almost empty too. Too many of those and you’ll end up with trains traffic jams.
Depending on your setup, you might also want to split your cargo lines into internal and external. It would be expensive to have a whole separate stack of stations, but it might make sense depending on how you’ve set up your supply chain.
I hope you found this helpful! Thanks for reading.